
Product Posters
How to Make a Product Sale Poster from a Photo and Price
A good sale poster tells shoppers what is on offer, what they will pay, and when they can get it. This walkthrough uses real StorePromoKit examples from grocery and bottle shops.
Quick Answer
Start with one clear product photo, a short product name, the selling unit, and the confirmed sale price. Use a ready-made poster layout, proof the offer at the size shoppers will see, then export a PNG for your own channels.
StorePromoKit Updated
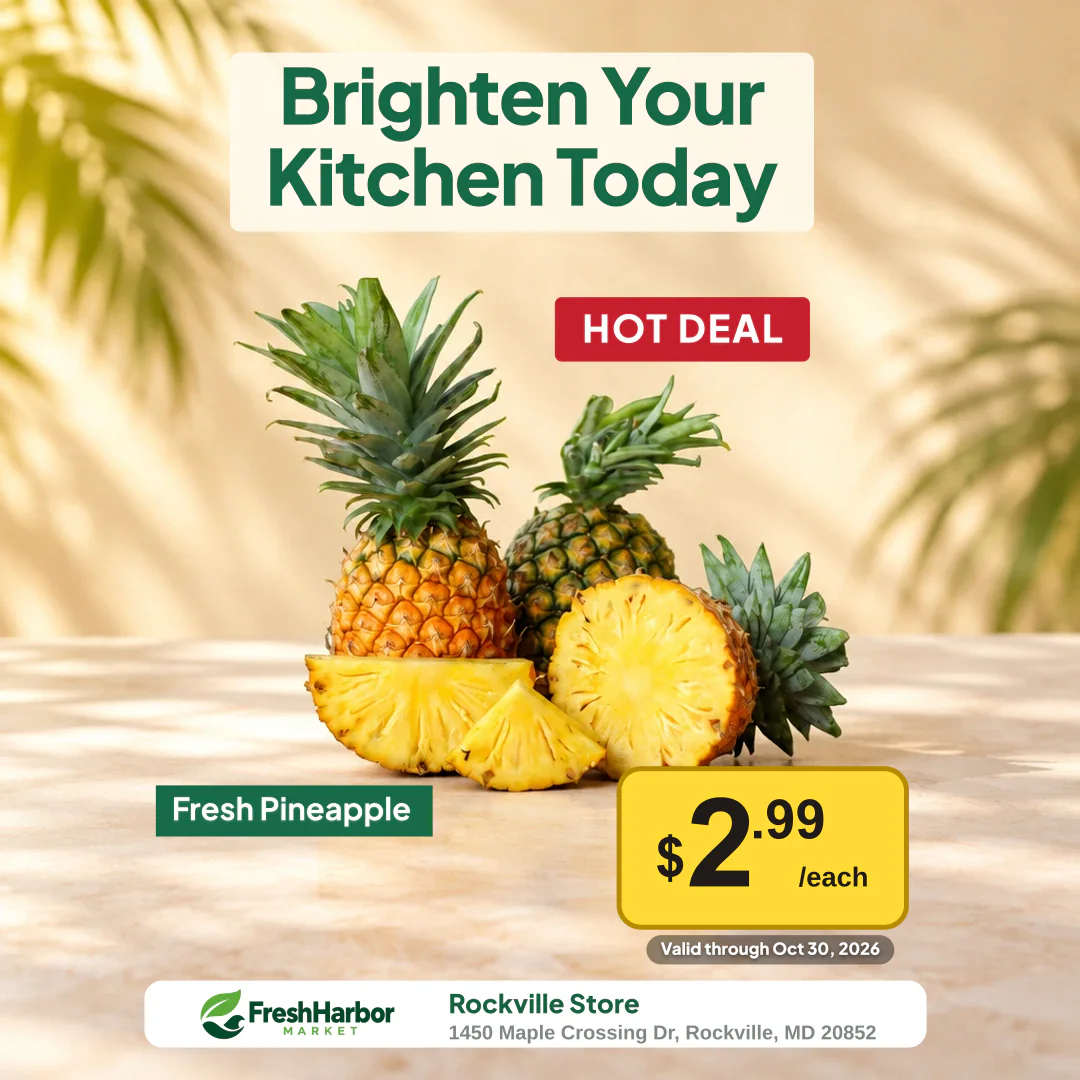
Demo examples: Store names, promotions, and prices are for demonstration purposes only. Not actual retail offers.
Gather the Photo, Price, and Offer Details
Pick a product that can carry the whole poster. A pineapple special is a useful example because the fruit, the $2.99 each price, and the store identity can all be understood at a glance. Before opening the editor, write down the exact item, package size or selling unit, sale price, promotion dates, and any quantity or location restrictions. Verify those details against the store’s approved offer.
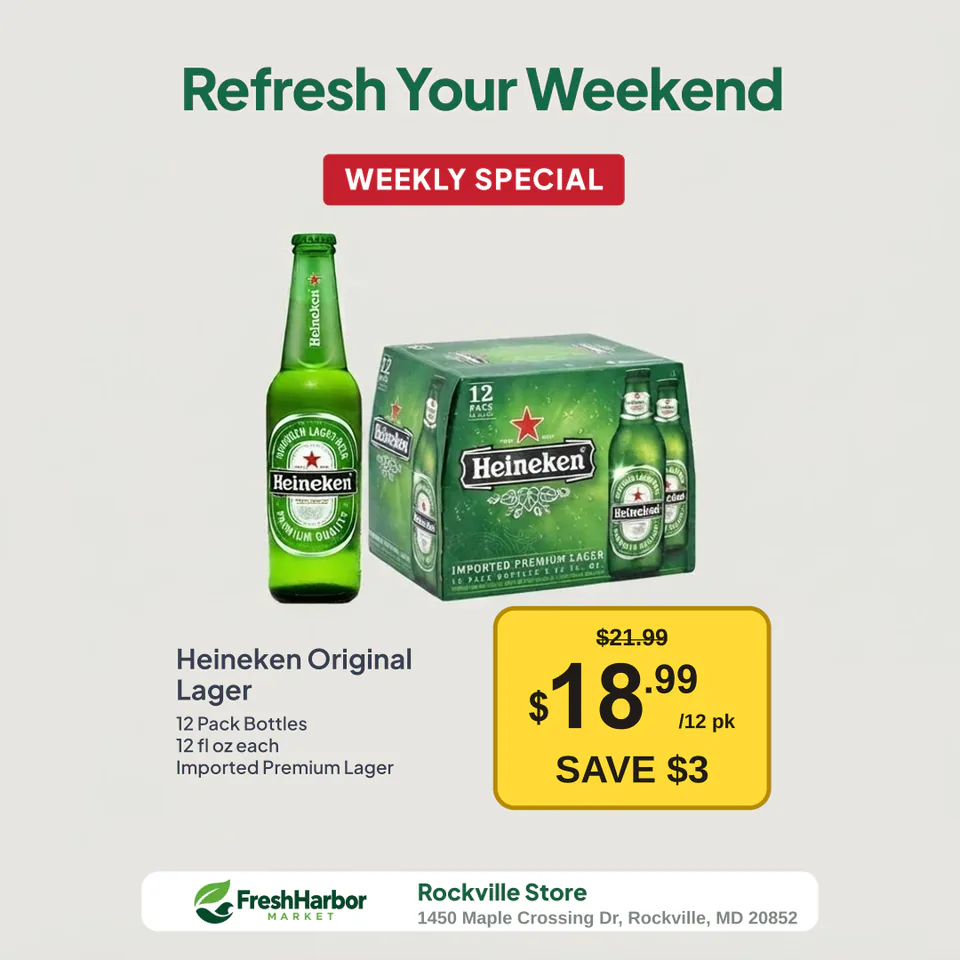
Choose a photo that shows the same size, flavor, and packaging as the advertised item. For a bundle or beer multipack, check that the artwork shows the pack being sold. If the image shows a single can beside the carton, include the actual pack count in the copy so the single can reads as an illustration of the contents.
Prepare a Product Photo That Reads Clearly
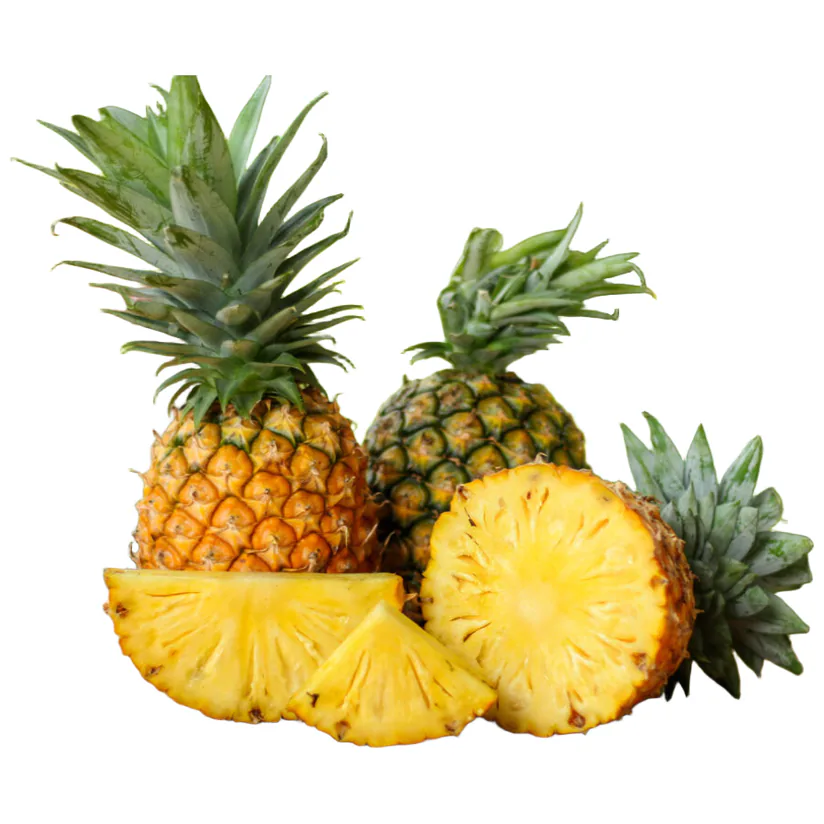
Use a sharp photo with enough space around the product to preserve its outline. Upload it in Product Poster Maker or choose a reusable image from Media Library. A plain-background original can already work well in a clean layout. Background removal can help when shelves, props, or a busy surface compete with the headline.
Inspect the result at full size. Transparent glass, pale packaging, and food trays can lose edges during background removal. Compare the cutout with the original, including the cap, packaging, label, and any transparent parts that identify the item. Use the original or another approved photo if the cutout changes what shoppers see.
Write the Product Name, Sale Price, and Selling Unit
Lead with the words shoppers would use to find the product. Add the variety and pack size where they distinguish the offer, such as a 750 ml bottle or a 12-pack. Keep the sale price dominant and place each, per pound, or the pack size beside it. A price on its own leaves shoppers guessing about what the amount buys.
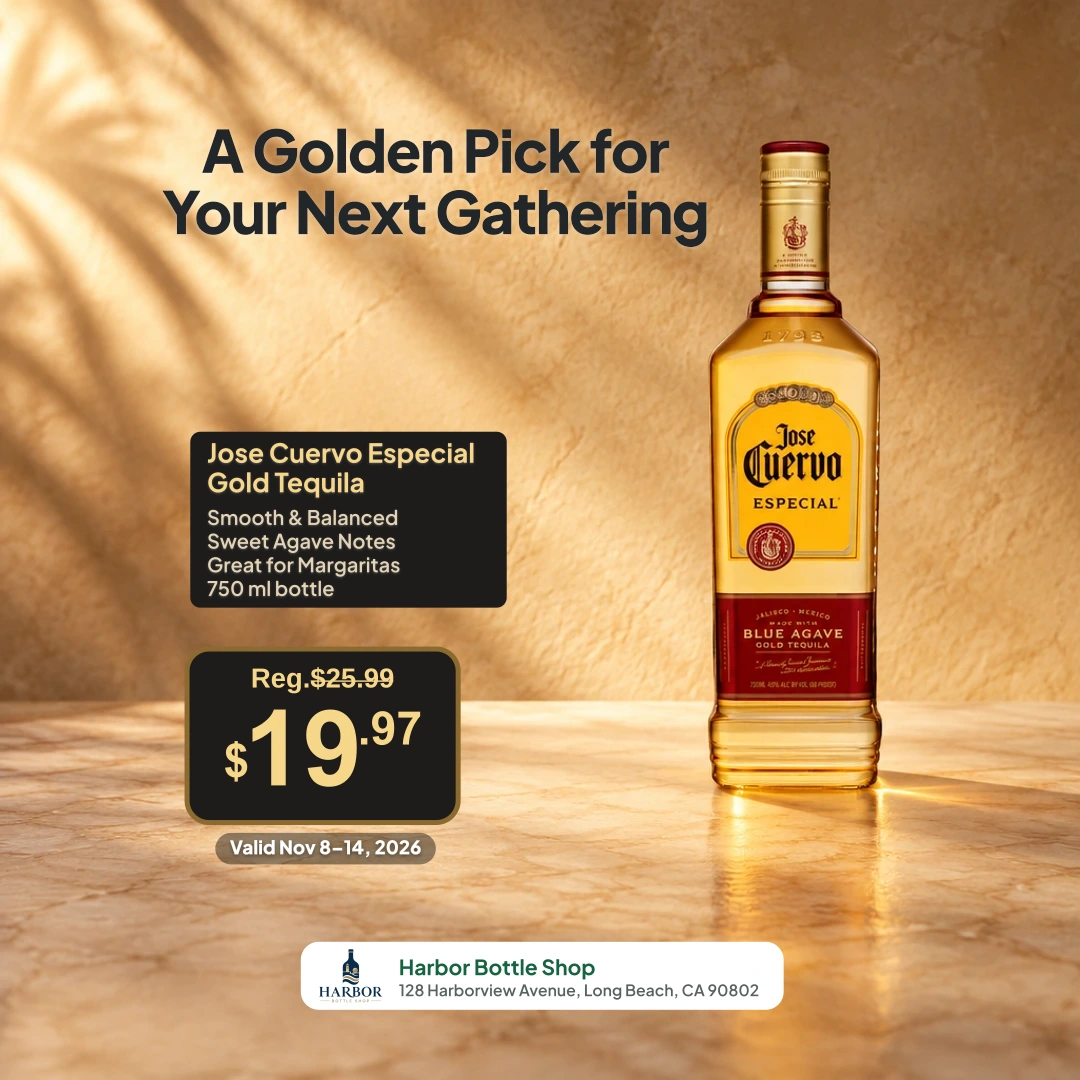
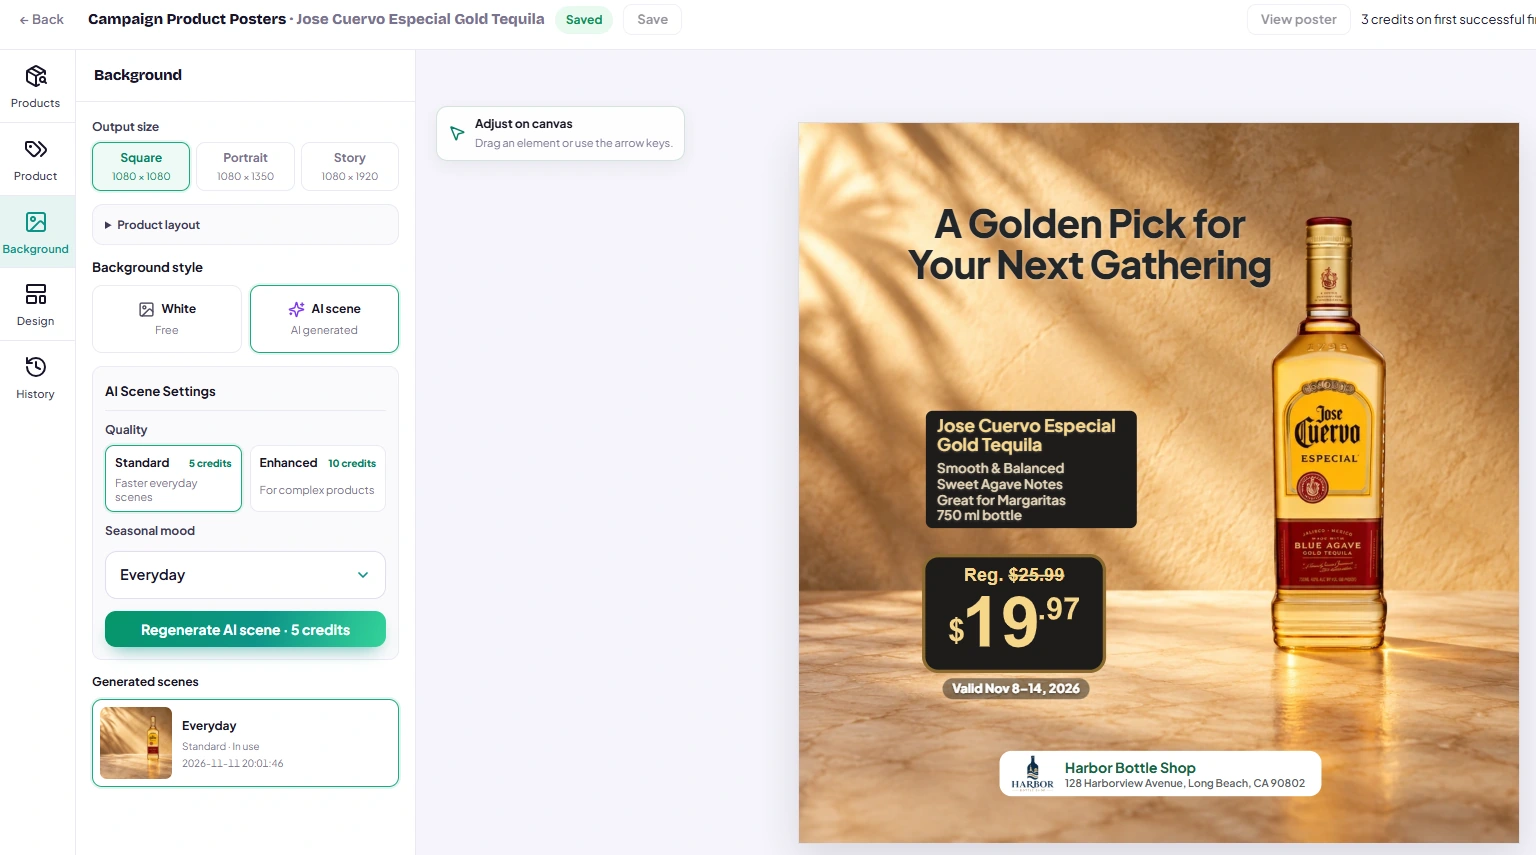
Show a regular price when you have a verified comparison for the same item and unit. Keep it visually smaller and label it clearly. The José Cuervo demo uses $19.97 and a regular price of $25.99 on the same bottle. In your own poster, carry the actual price, valid dates, and any purchase conditions through to the finished image.
Choose the Poster Size and Layout
Choose the destination before adjusting the composition. The standalone editor offers Square (1080 × 1080), Portrait (1080 × 1350), and Story (1080 × 1920) PNG outputs. Square gives a compact preview, Portrait gives more height in a feed, and Story gives a tall frame. Check the preview in the destination app, where interface overlays or thumbnail cropping can hide information near an edge.
Use a tall product arrangement for a bottle if it gives the label enough height. A wide carton may need more horizontal space and a different placement for the price. Leave enough room for the store name, unit, and offer dates. When you change output size, review the spacing again before generating the new version.
Customize the Look Without Photoshop
Start with a retail design that already gives the product, price, and store identity separate areas. Adjust the supported styles, colors, and positioning where the editor offers them. Increase contrast before adding more decoration. The product and the sale price should still be the first two things a shopper sees on a small screen.
Where available, AI Scene can create a styled setting around the product. It is optional and uses Credits separately. Review any generated scene for changed packaging, labels, or proportions. A clean original product photo is a practical choice when exact packaging details matter. The example editor below shows a Campaign Product Poster using the same design controls.
Review the Poster Before You Download It
Check the exported proof at phone size. Ask a colleague to read the product, unit, price, dates, and store name without zooming. Review the actual PNG after generating it, including the logo and the edges of the item. Check one version per intended format when you plan to post the same promotion in several places.
Fix the most common mistakes before publishing: the wrong package photo, a regular price that uses a different selling unit, a cropped price badge, or an expired date copied from a previous deal. Download the PNG and upload it yourself to Facebook or Instagram. For several weekly offers, use a multi-product social flyer to keep the set together.
Can You Make a Printable Sale Sign on Letter Paper?
Yes, you can use the poster PNG as artwork in a Letter-size document. Place it on an 8.5 × 11 inch page, keep its proportions, set margins for your printer, and print a proof at the intended size. A portrait PNG can leave white margins depending on how you fit it. Check the price and product details from the distance shoppers will stand.
The standalone Poster Maker exports image sizes for social use. It has no native Letter-size poster export, print PDF, or shelf-talker layout. For a native paper-size document with PDF or PNG export, use the Print Flyer workflow and select Letter there. A shop printing large signs should check the PNG resolution and any file specifications with its printer first.
Can You Try It for Free?
The 14-day free trial includes 100 Credits. The first successful finalization of a new poster uses 3 Credits. Edits and re-downloads of that same finished poster are free. Optional processing or AI Scene generation may use separate Credits. You can prepare and review a draft before finalizing.
Use a single offer to test the workflow first. Add a verified photo and price, check the selected output size, and then finalize when the proof is ready. For a sign, follow the Letter printing steps above. The Pricing page explains plan and Credit rules.